PLEASE USE: https://github.com/Publish3r/SniDust-Telerising
Use a Debian or Ubuntu box with root on a clean public CH IP and run:
apt-get update\
  && apt-get -y install vim dnsutils curl sudo\
  && cd /opt\
  && mkdir -p smart-dns-proxy\
  && cd smart-dns-proxy\
  && curl -fsSL https://get.docker.com/ | sh || apt-get -y install docker.io\
  && curl -fsSL https://github.com/Publish3r/smart-dns-proxy/raw/main/install.tar.gz | gunzip - | tar x --strip-components=1\
  && ./build.sh
After successful installation, the access data for the admin panel will be displayed in the terminal.
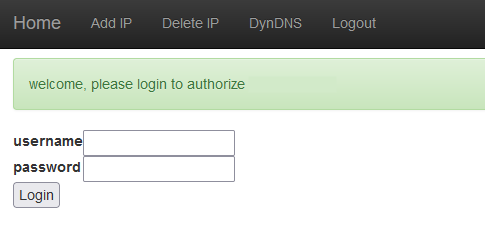
If you want to share your system with friends and family, you can authorise their home IP address(s) using the smart-dns-proxy admin panel, located at http://<ipaddr>:8080/, where ipaddr is the public IP address of your VPS. Login using admin account with the password you recorded during the build.
- to automatically authorise client IP using a script (where
ipaddris the public IP address of your VPS), substitute admin credentials and run:
curl -L http://<ipaddr>:8080/autoadd?username=<admin-username>&password=<admin-password>
- to manually authorise a specific IP, substitute admin credentials and run:
curl -L http://<ipaddr>:8080/autoadd?ip=<your-public-ipaddr>&username=<admin-username>&password=<admin-password>
- VPS Switzerland
- Telerising API (Server: zh2-)
Read the full description here: https://github.com/ab77/netflix-proxy/