
- Get a SD-card which will hold the image (min 16 GB).
- Download the image RPi_64OS_Zero_2.xz (1.7 GByte!) from our Gdrive site.
- Flash the image on the SD-card with the Imager or balenaEtcher.
- Insert the SD-card in your Raspberry Pi Zero 2.
- Wait a few minutes, while the image will expand to the full size of your SD card.
- No WiFi installed. Password: 3.14
- You can overclock the Raspberry Pi Zero 2 if your SD-card is not too worn out. 1200 MHz is no problem. Most deep learning examples even work at 1300 MHz.
- If you are in need of extra space, you can delete the opencv and the opencv_contrib folder from the SD-card. There are no longer needed since all libraries are placed in the /usr/local directory.
- Please note, the Raspberry Pi Zero 2 is a very new device. Lost of (software) updates can be expected in the coming months.
- We commit several deep learning benchmarks. Read all about them at our site
- As explained on the website, you have only 100 MB of free RAM for your applications left once the 64-bit Bullseye is loaded. To enlarge the amount of RAM to more practical sizes, we use a large swapping space. It will wear your SD card when used intensively. It also slows down the performance, as you can see in the graph below. The 64-bit Ubuntu server was faster, but it doesn't have a graphical desktop. Only a terminal input. And for those unfamiliar with Ubuntu, the desktop is only possible with 4 GB of RAM onboard.

- OpenCV 4.5.4
- ncnn 20210124
- TensorFlow-Lite 2.6.0
Since everyone has a unique password on their WiFi connection, we have not activated the WiFi.
To enable the wireless LAN follow the next steps:
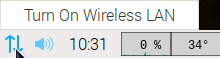
- Left click on the Ethernet symbol.
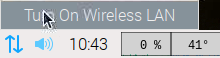
- Click "Turn on wireless LAN", and wait a few seconds. Your RPi will scan for available networks.
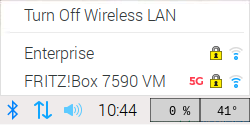
- Left click again on the Ethernet symbol and choose your network.
- Give your key, and wait a couple of seconds to let the RPi establish the connection.
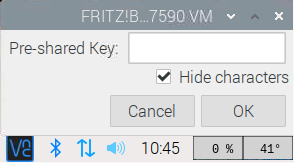
- Success!

